How to Prepare A Room For Painting
- Blog
- Brett
Admit it or not, you’ve always wanted to mess around with colours, mixing tones and hues in your head and envisioning what your room would look like if it had an accent wall to hang that complementary piece of avant-garde you got for a steal at the flea market. The trouble is you don’t know how to begin prepping a room for a painting makeover, what type of tools are needed, and if you even have the time to spare for this home improvement.
At the onset, house painting projects often head south when you have the least idea where to begin and end. Mind you, going house painting via the DIY route may lead to an endless pursuit of perfection and style.
Meanwhile, to help you get around your decision on whatever home improvement route you want to take, here are some extra tips straight from BJC Painting Services, professional painters in Brisbane.
The Clean Up
When you have laid down the plan and eventually decided on the colours for the room, the first step to take is the clean-up. Far from popular belief, cleaning up takes place before and after painting takes place. This is the basic rule of thumb for every house painting professional.
Here are the top 3 basic tips for the clean-up
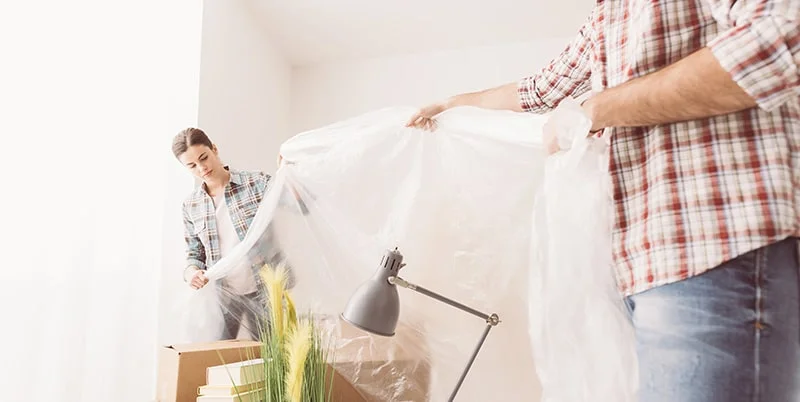
- Clear the area of furniture and everything else that obstructs movement within the four corners of the space. It is important that you are able to move freely inside the area without fear of knocking down furniture when the painting has commenced.
- Take down all wall-hung fixtures and store everything inside labeled boxes. Leave the hooks in place, if you intend to place them back where you took them off.
- Cover all other furniture or decor with canvas cloth to protect from drippings. Drippings tend to be troublesome when it gets on surfaces not intended to be painted.
Tool Selection and Preparing Your Materials
The quantity requirement of your painting materials may vary depending on the size and coverage of the area you are about to paint. However, the tools you need to perform the task are based on the type and kind the professional painter often makes use of.
The painter’s arsenal always comes with several types and sizes of paint brushes, different types of paint rollers, a paint tray, sandpaper of different grit for specialised surfaces, a putty knife, drop cloths and rags, and yes, last but not the least and always ever-handy, the painter’s tape. These tools should be placed inside the immediate room or area to be repainted, securely kept within a safe corner for when not in use, along with the sealed paint cans.
Ventilation is Key
You’ve taken out the furniture, boxed the wall hung frames, and covered your valuables with canvas cloth. But have you taken time to breathe Make sure you have proper ventilation inside the area or the room you will be painting before you start your project.
Open the windows throughout the work duration and whenever needed, plug in a fan to keep the circulation going in a healthy manner. Besides keeping the area free from toxic fumes and paint allergens, this can help speed up drying time for the paint as well.
How you finish your house painting project, be it on the interior or exterior, depends largely on how you intend to begin. If you have successfully planned out your moves towards the undertaking, then be confident enough that you will prevail in doing so.
However, if all the guesswork that comes with getting started becomes a daunting concern, there are always house painting professionals ready to be of service and are but a call away. Remember, painting professionals like BJC Painting Services are here to make your life easier and give you the peace of mind you deserve.