How to paint a house interior
- Blog
- Brett
Colour your world by colouring your interiors. You can make your home look brand new again by doing the time-tested methods of an expert interior house painter.
Did you know that the colours of your environment can affect your mood? This is why an interior house painter can change the aura of your home and the aura of the people living in it.
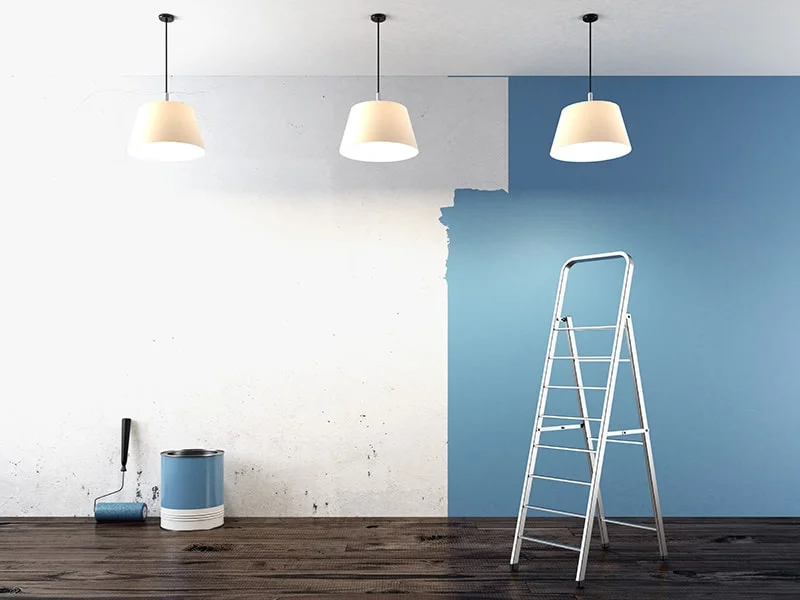
Read on for some interior house painter instructions and tips from BJC Painting Services.
Have enough working space by removing all the furniture in your area.
Place a protective canvas on your floor to cover it from any splash. Then, wash the walls of your area with sugar soap. By cleaning your walls, you can ensure that the paint you will place later on will not be destroyed. After doing so, you can already begin to paint.
Prepare to cover up your trim so that you can paint the parts of your walls that the roller cannot usually reach. When you cut in, you would usually use a brush or a paint pad.
The next thing to do is submerging your brush into the paint. We suggest that you do not oversaturate your brush with paint by totally submerging it. Instead, you only have to dip approximately half of the length of your brush’s bristles into the paint. Then, get rid of the excess paint by tapping on the side of the brush. After which, you have to begin brushing from the side. Remember that as you do strokes with your paintbrush, you will put the line of the edge in place. Move your brush slowly to the side so that the paint line would go along with the edges.
It is essential to keep a wet corner or edge so that your paint roller will be incorporated with the paint you have brushed. If your paint dries, you will clearly see the presence of two coats. This is not a good sign of a good paint job.
After painting the edges of your wall, you will then have to paint the rest of the area using a roller. The process of using a roller differs from that of the brush. Continuously push the roller on your paint tray until the brush part is loaded with paint. When doing this, you have to ensure that the paint is evenly distributed on the roller. This way, you can maximize your roller when you will already apply it to the wall.
Apply the paint using the roller from where you began to cut in. When painting using the roller, we suggest that you begin as far as possible. We also recommend that you move your roller, imitating the strokes of the letter W. This way, you will know that you have uniformly distributed paint across your wall.
Now that you have painted a portion of your wall, the next thing to do is to lay-off. This is an integral part of the painting to ensure that you would get an even finish. At the same time, laying-off hides the strokes that may have different textures or consistency from the rest. To do this, you would need to use a roller that has not been loaded. Place it on the edge of your wall. Then, roll it evenly without applying pressure. When you reach the base of your wall, go back to the top and repeat the process. Remember to also paint where you just have rolled. This way, you will remove the line that has been formed from the lay-off that you did earlier.
And that’s it! Clean your area and relish your newly painted room.