4 Tips To Prepare an Old Queenslander House for Painting
- Blog
- Brett

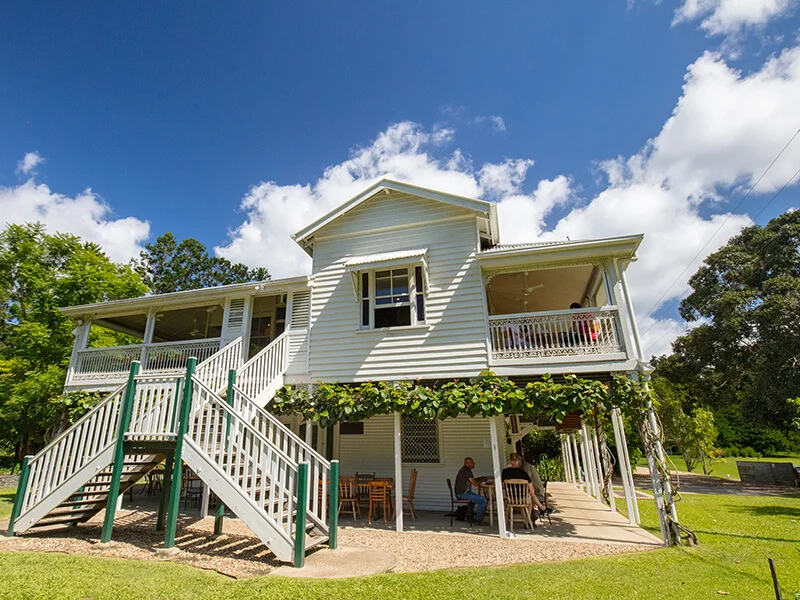
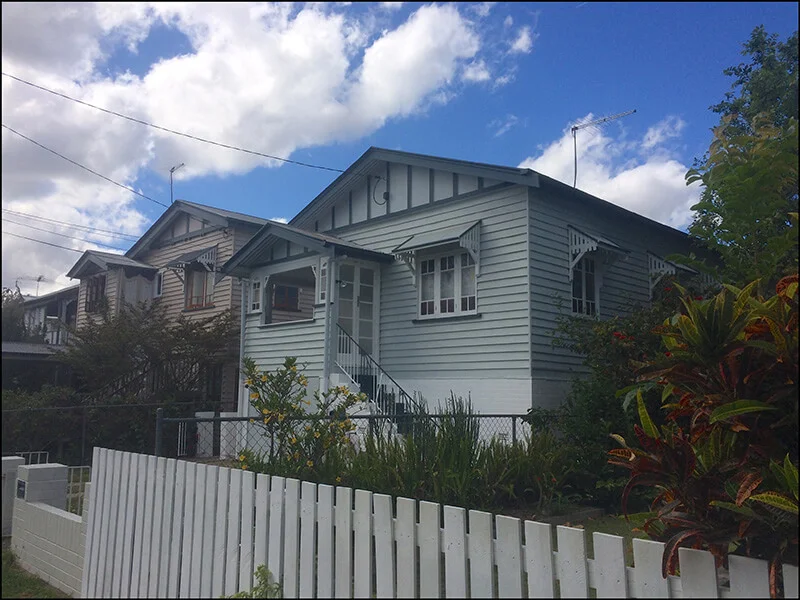
Queenslander homes have a unique place in the history of Australian architecture. The oldest Queenslander has been around since the late 19th and early 20th centuries. Many homes seem like they belong in the distant past, but they have stood the test of time and maintained their unique beauty and charm throughout the years.
But just like any home, the Queenslander can get damaged. The trusty iron roof can rust and will need to be replaced. Timber can rot or warp, and the floors can sag over time. The house’s paint can also peel, crack, or fade because of age or exposure to the elements.
If you’re planning to have your Queenslander repainted, then you’re in the right place. We’ve got 4 tips to prepare your Queenslander for painting below so read on.
Top Tips for Preparing a Queenslander for Painting
1. Hire a professional painter that has experience or specialises in painting Queenslanders
Queenslanders are tough and built to withstand harsh summers and torrential downpours. But it doesn’t mean they’re invincible. Because of their age or the materials used to build them, homeowners should take utmost care in repainting them.
DIY can really be tempting with all the money you will save. But when it comes to painting Queenslanders, we recommend that you hire a professional house painter.
Why? Because professional painters have the right supplies and tools to do the job, including the right paint, primers, brushes, sandpapers, and more. They are also trained in preparing timber weatherboards properly. So leave it to the experts and just enjoy the results.
2. A thorough inspection is a must
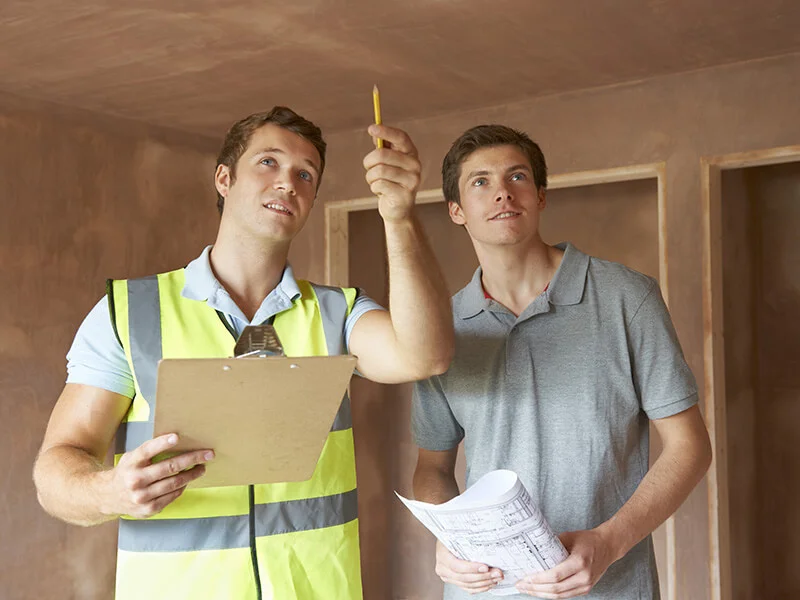
As mentioned, many Queenslander homes have been around for decades now so it’s important to consider their age and inspect them before having them painted.
Are the timber weatherboards still in good shape or are they showing signs of dry rot? Are there holes in the walls that need to be filled out first before painting? Are the windows and doors in good condition or do they need to be replaced entirely? These are just some of the questions a professional painting contractor will ask when they arrive to inspect your home.
Once the weatherboards, doors, windows, and other wooden parts of the home have been inspected and evaluated, we can now hop on to the next step.
3. Wash and sand the walls

After a thorough inspection, we’re going to prep the walls by wiping them all down. This is done to remove any grease, fingerprints, mildew, or dirt sticking on your walls.
Once this is done, we’re going to sand every inch of the wall to remove any bumpy areas or old paint stuck on the surface. Sanding is also done to remove anything shiny or greasy that a good wipe-down was unable to remove.
4. Fix any problem areas
Next, we’re going to fix any problem areas in your walls prior to painting them. Smaller holes will be filled, while larger ones will be patched or the wall will be replaced entirely.
Have a damaged VJ panelling? Then we’re going to fix that too. We’ll be paying close attention to gaps between each panel to ensure a clean and uniform result. We use the Polyfilla Gap Sealant to ensure the gaps between VJ panels are filled and sealed.
There you have it. Our 4 tips to prepare an old Queenslander house for painting. Check out our blog for more handy tips and guidelines on residential and commercial property painting. You can also reach out to us during business hours for quotes and other inquiries.


